Comfort Starts with the Right Fit
There are 7 custom measurements for measuring your head:
- Around the head
- Front to back
- Ear to ear over the top
- Ear to ear across the forehead
- Temple to temple round the back
- Nape of the neck
- Front to whirl
Step 1) Around the head:
Start at the hairline in front, follow the hairline behind your ear. then around the back to the bend in your neck, behind your other ear, and around the front to where you began.


Step 2) Front to back:
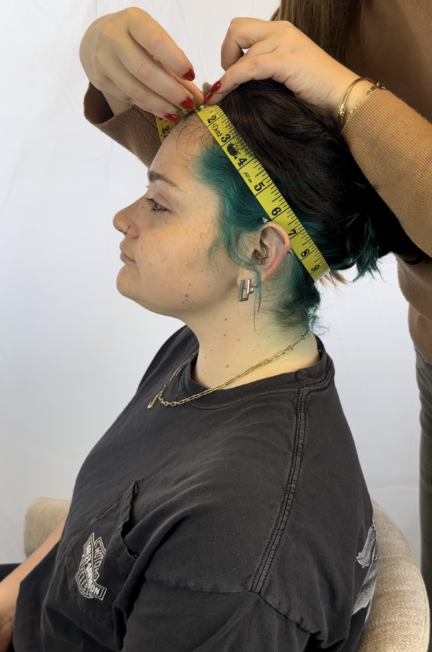
Measure from your hairline in front, back over the top of your head, then down to the roots of your hair on the back of your neck (just below the indent where your skull meets your neck).


Step 3) Ear to ear over the top:
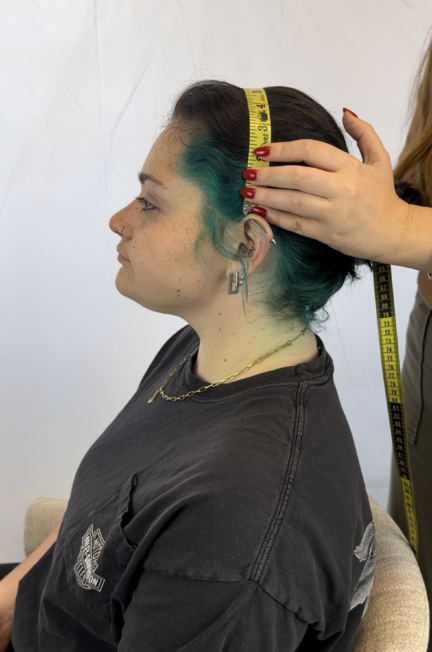
Start in the crease where the ear attaches to your head. bring your tape measure straight up directly over the top of your head and then straight down to the same position at your other ear.


Step 4) Ear to ear across the forehead:
Place the measuring tape at the hairline behind the ear. Pull the tape to your front hairline and then continue to the hairline behind the other ear.


Step 5) Temple to temple round the back:
Place the measuring tape at the hairline of your temple. Wrap the tape straight across to the other temple. If you have a low hairline the temple should be 4 finger tips diagonal from your eye.


Step 6) Nape of the neck:
Place the measuring tape at the tapered edge of your hairline. Pull the tape to edge of your hairline at the nape. Do not place the tape below the crease in your neck. This measurement is usually around 4”- 6”.


Step 7) Front to whirl:
Measure from the front hairline (center of your forehead) straight over the top of your head, ending at the crown where your hair forms a natural whirl. The “whirl” is the part of your head right before your scalp curves down. This measurement ensures a proper scalp length and is usually around 5”- 7”.


